
Info
Phone
Mail
Address
P.I. 01338800384
Recipient code: BA6ET11
Via F. Luigi Ferrari 24/C
Ferrara
44122
Italy
Studio V.M. S.r.l. ©
We want people to have fun safely!!

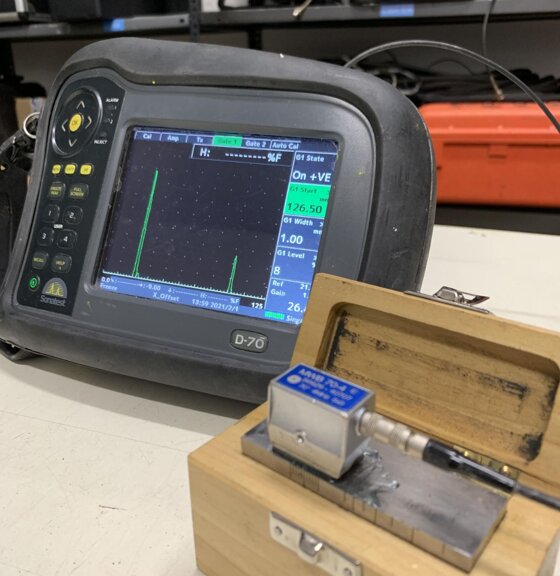
Manual UT Exam
This inspection is usually performed on butt welds to verify the integrity of the joint. The ultrasonic beam that exits the probe's sole penetrates the weld material and, if it encounters cavities (reflectors), sends the beam back to the receiver. The echo generated provides information about the position and size of the discontinuity.

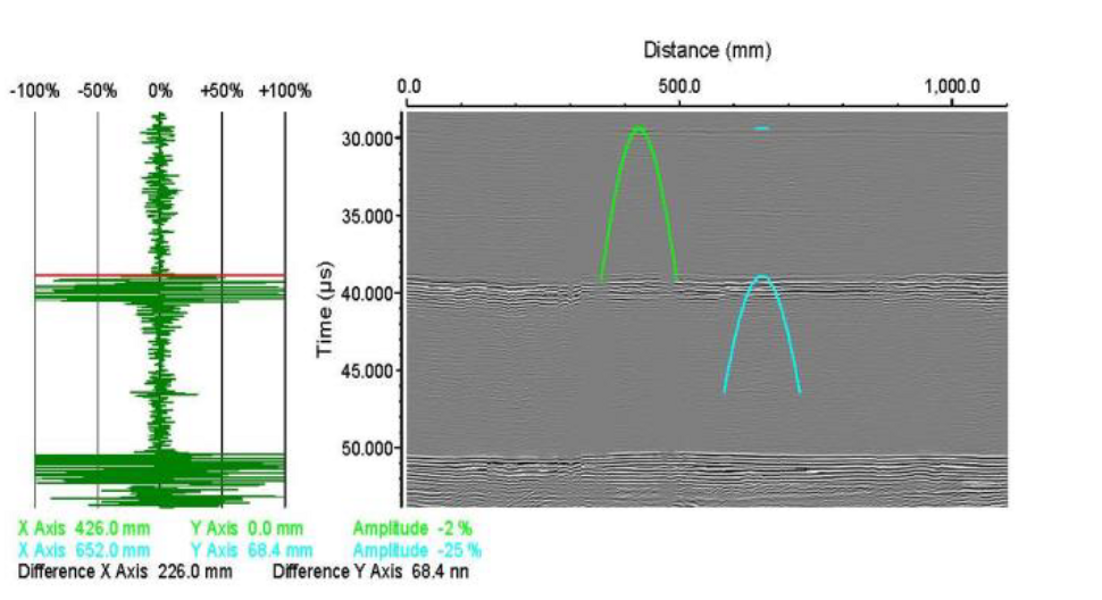
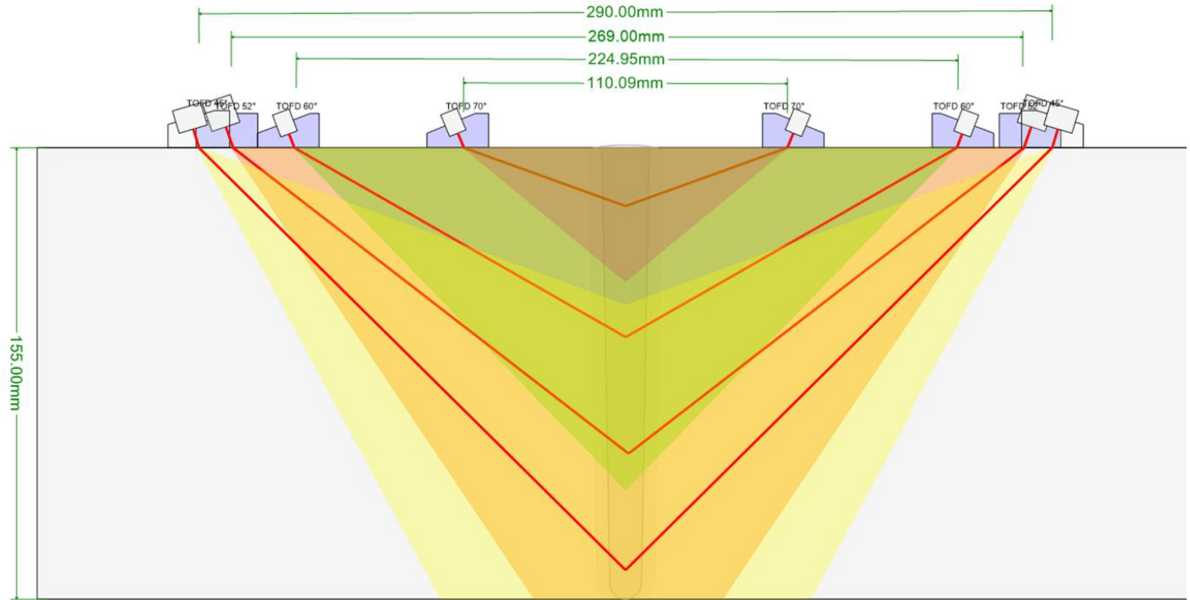
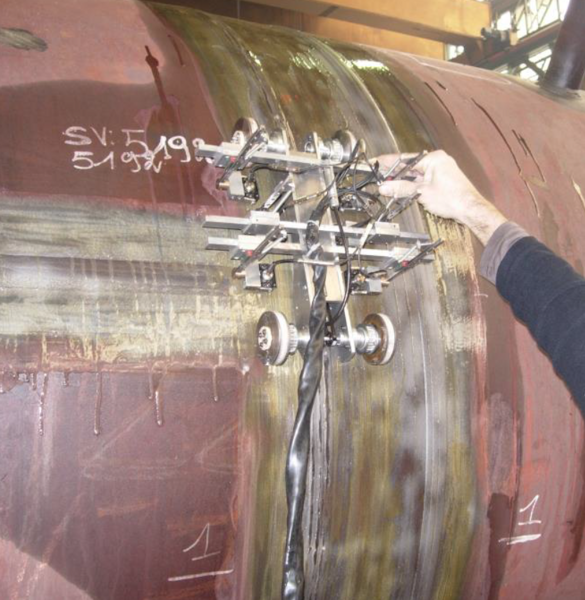
Computerized UT TOFD Exam
It is commonly used for the examination of circumferential welds of pressure vessels, heat exchangers, and large diameter piping. The result is provided in real time and this reduces the usual gap between radiography results and those of radiography. The scanner allows scanning with up to 5 pairs of transducers, so as to inspect the entire welded volume in a single pass.

Computerized UT inspection Phased Array (PA UT)
This technique is applied instead of radiography (butt weld joints) or to scan the nozzle on the shell weld. It can also be applied when TOFD is not possible due to geometric restrictions.
It is applied starting from 6 mm wall thickness and above.
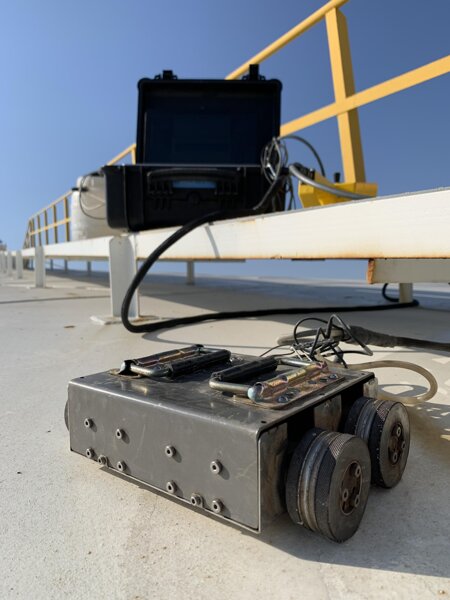

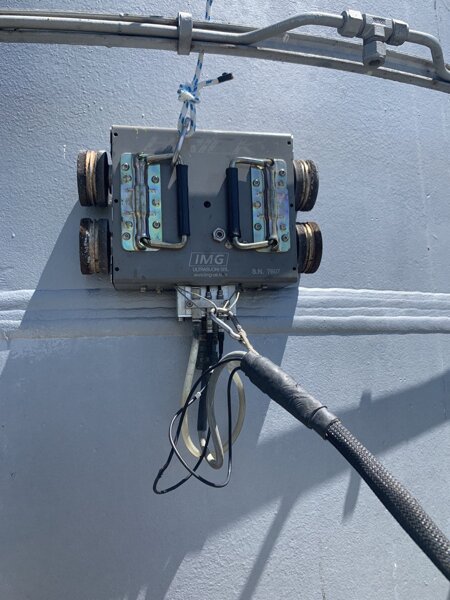
Ultrasound examination with Magnetic crawler
It is used for the inspection of metal walls, it is a motorized magnetic wheeled trolley with 4 independent motors equipped with an onboard UT probe in continuous contact with the surface under examination. It is designed to follow the profile of flat surfaces or those
considered as such.
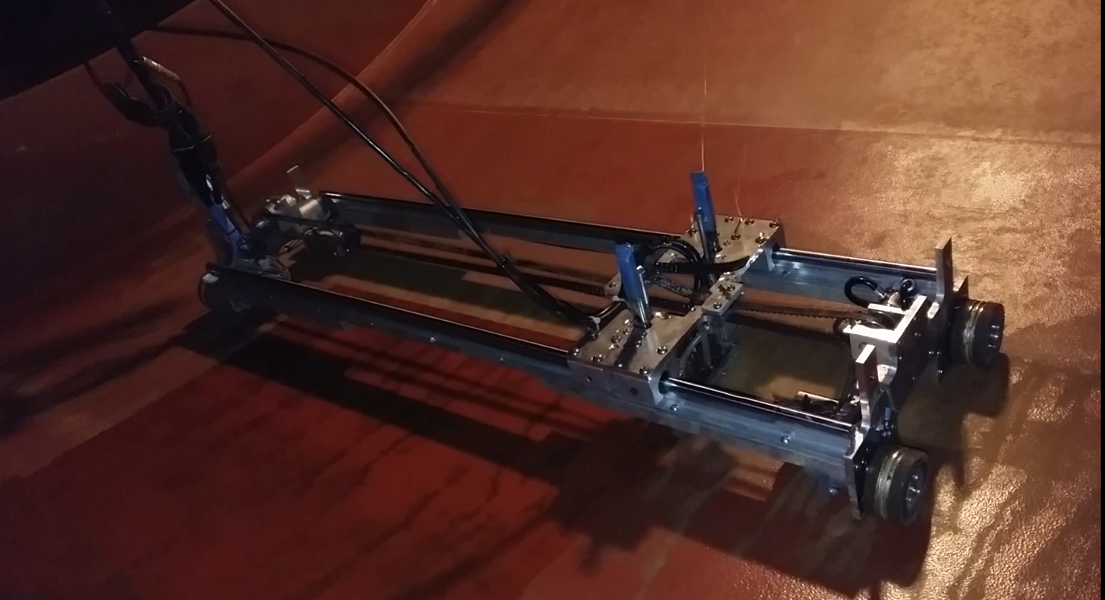

Computerized UT Inspection Corrosion Mapping
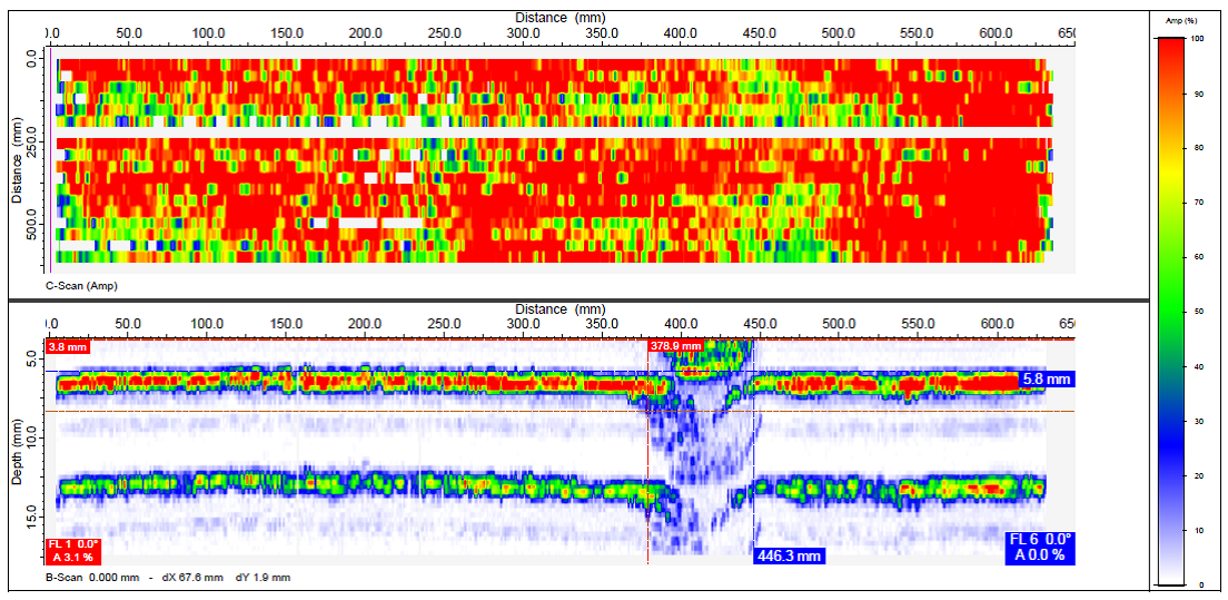
It is commonly used to determine the state of corrosion on shells, tanks, pipelines, etc. It can also be applied to check for the presence of step cracks or to monitor the progression of these discontinuities.
The output is self-explanatory and allows you to determine exactly the depth of corrosion or cracks, as shown in the image.

TFM
The Total Focusing Method (TFM, Total Focusing Method)
is based on the same steering and focusing approach as conventional phased array (PAUT), except that in this case, focusing is applied everywhere in the area of interest (the "TFM zone"), not just at a specific depth, resulting in a better scan definition compared to Phased Array.
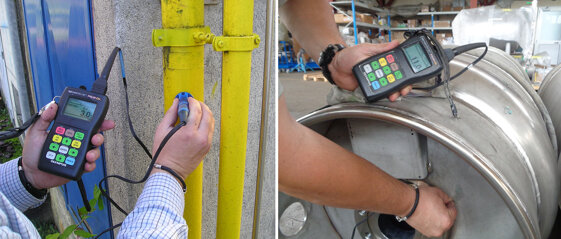
Ultrasonic thickness measurements
This inspection is carried out to determine the thickness of sheets, profiles, pipes, and plant parts. The surface must be cleaned and smoothed to obtain good results.
Info
Phone
Mail
Address
P.I. 01338800384
Recipient code: BA6ET11
Via F. Luigi Ferrari 24/C
Ferrara
44122
Italy
Studio V.M. S.r.l. ©

